There are two very common projects that amateur woodworkers tackle, with similar workflows: cutting boards and chess boards. I've made a few cutting boards, and I have a request from The Boss to make another, but before that, I wanted to make a nice chess board. I also wanted to complicate things for myself, so I added drawers to hold the pieces. To add another element to the project, I made the chess pieces myself, out of epoxy.
When I started this project, I took photos of my work, starting with the raw wood from the shop, the cutting and assembly. Once I completed the assembly and put the topcoat on the wood, I had a tragic incident - my photo had a fatal flaw and needed to be factory reset. All my photos were lost. I didn't have auto-backup setup on my phone, so they weren't stored on the Cloud. Lots of colourful language was used at that time.
I will describe the build process in general, but without the photos to explain, many of the details won't make sense.
For the selection of wood, I knew that I wanted maple, which has an incredible grain pattern when oiled. For the darker pieces, I went to the local wood shop, KJP Hardwoods, and chose a really dark wood I hadn't seen before - toasted ash. (in retrospect, it was a poor choice. I should have used maple for the whole set and simply stained the darker pieces. Toasted ash is a frustrating wood to work with). Toasted ash has an incredible smell and a beautiful even colour tone. However, it is rather brittle and so it was difficult to work with it without small slivers of wood coming off on delicate corners.
My design involved a hollow base that contained 2 drawers for the pieces. At the back of each drawer, there is a magnet that is attracted to an opposite magnet placed on the inside center frame of the base. This helps keep the drawers from sliding out too easily. To provide a stable support for the checker-board pattern of the top, I kept a thick side on the left and right, but made it hollow to keep the overall weight down.
 |
| Simple sketch showing the overall design of the base |
The first step was to cut the maple and ash boards into strips. These strips were then fed through the table saw to cut them thinner, approx 1/2" thick. The result were 1"x12" strips that were 1/2". To ensure they were the same thickness, I put them through my planer. This ensured they were exactly the same thickness.
I then glued the strips together and clamped them with my long pipe clamps. This made long strips of light and dark board joined together. The next step was to cut those boards across the grain. Those were then glued together, alternating the colours. This would allow the checkerboard pattern.
This diagram from GeneralTools.com clearly shows the steps I took. Check out their procedures here.
After the board was assembled, had some unevenness. It was also too wide to to fit through my planer. I used a router sled to level-out the top. Then a ton of sanding was required. I needed to be cautious because the maple was much harder than the ash, so sanding would wear out the ash faster - creating an uneven surface again.
The next step was to build the base and drawers. The base was constructed primarily of leftover ash. The left and right sides were hollow, but sturdy. It was important that the heavy top that would be affixed to it wouldn't cause the base to be unstable. The corners of the base also needed to be nicely beveled so they would have a nice appearance - as they would not be hidden. In the middle, between the space where the drawers would be, a board was placed that had 2 magnets glued. Those magnets would connect to the back of the drawers.
The frame of this base was assembled and glued to a wide board of maple that would be the bottom. I made that wide board by laminating several strips of maple together. Laminating, in this woodworking sense, means to glue thin strips together along their thin sides, essentially creating a sheet.
The creation of the drawers was challenging. I wanted them made of a mix of maple and ash. The frame was made of maple, with the dividers and bottom comprised of ash. Once the assembled and glued, I then tried something new - flocking.
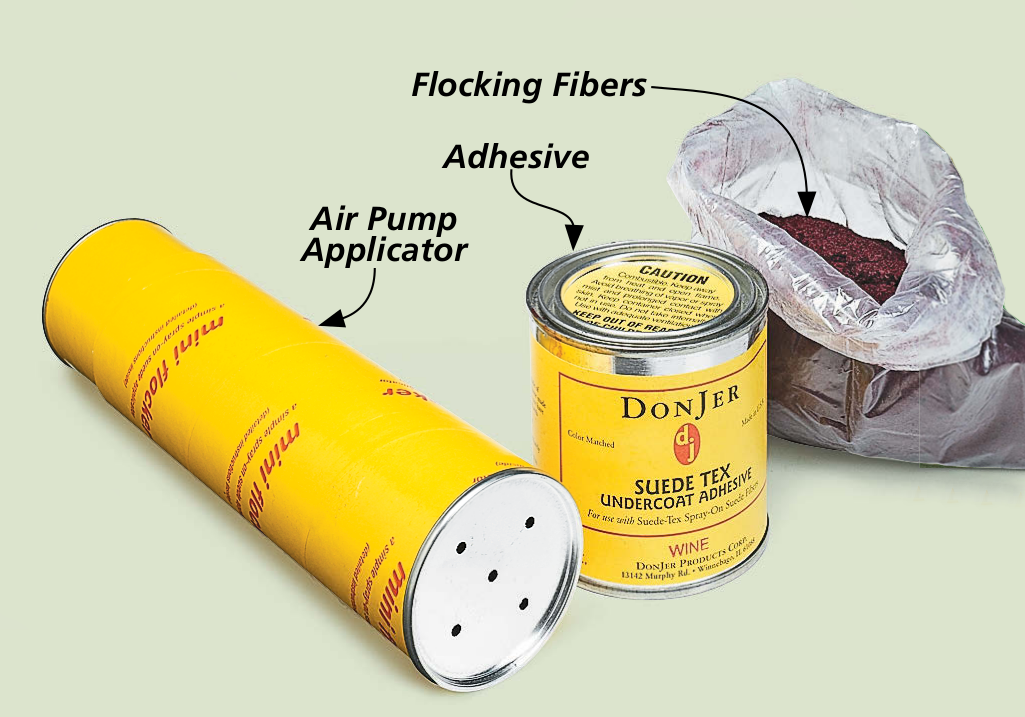
Flocking is coating something with powder. I taped-off the outside of the drawers, then sprayed glue into the compartments. While the glue was tacky, I sprayed the drawer compartments with red powder that adhered to the glue. Once dried, the flocking made a soft surface for the pieces to sit on without rattling on bare wood. The process was tedious, because I had never done it before and had to scrape-off failed attempts and try again. The way it is done is putting some of the powder into the tube (shown below - from
Woodsmith), then squeezing the tube to press air out the holes, which in turn sprays air and flocking powder evenly over the adhesive.
Once the drawers were made and I determined they fit well, I assembled the complete chess box. I glued the top down to the base. There were many areas of contact so there will be no chance of them separating.
After assembly, I used my router to add chamfered edges to the drawers, and all corners and edges of the box. This would help reduce wear and tear on the edges. I added my logo to the bottom of the base also.
A ton of sanding was then done to all the edges of the newly assembled unit. Next step was to add the finishing topcoat. I had developed a love of Osmo while making the Console Table, so that is what I used to finish the chess box also. Inside the drawers, I used a coating of paste wax, which helps the drawers slide nicely into the unit.
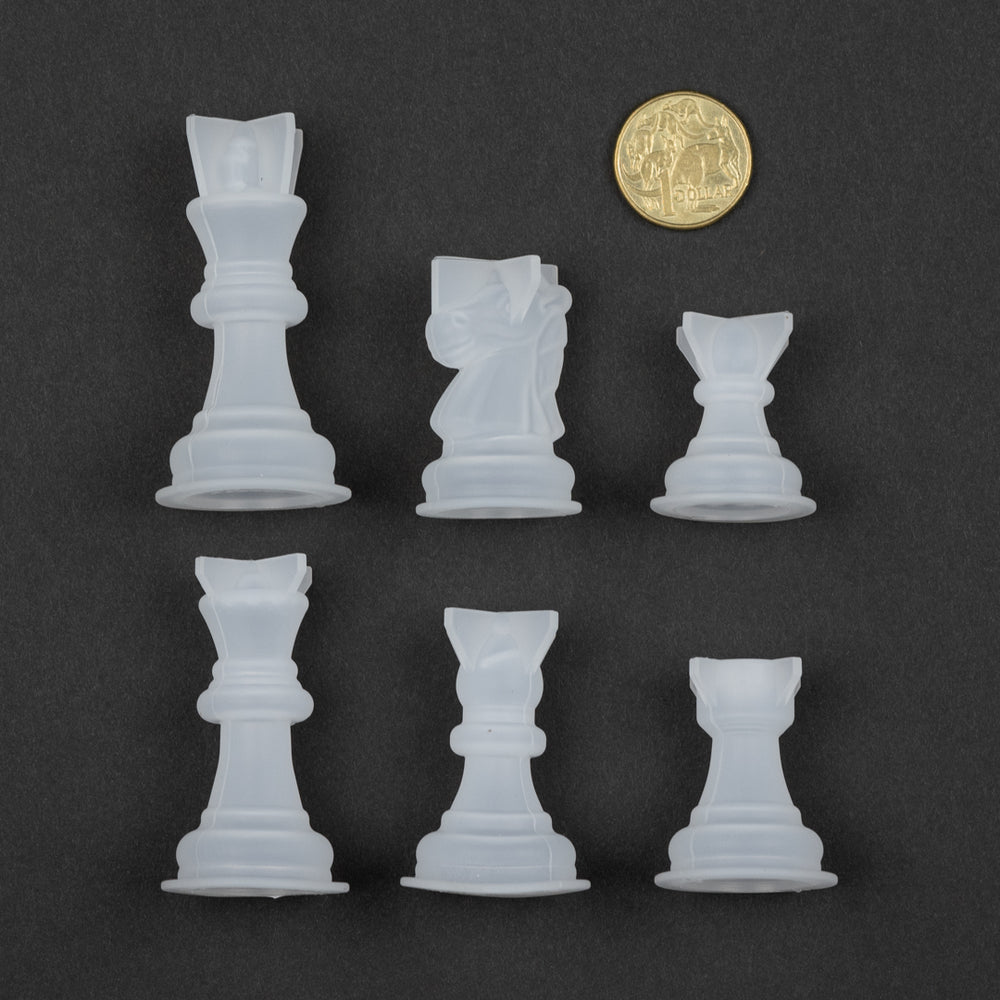
The last step was to make the chess pieces themselves. I bought silicone molds online which sit upside down. The epoxy resin is then mixed in a measured batch, and poured into the molds. For the clear/white pieces, I incorporated gold leaf, to make them special. Applying the gold leaf into the epoxy was done manually, each piece. I would pour some of the epoxy into the mold, place a small piece of gold leaf on the tip of a long needle, then push it into the epoxy. Then I would pour in more clear epoxy and repeat. The epoxy takes about 4 days to fully cure, at which point I would roll the mold off the pieces.
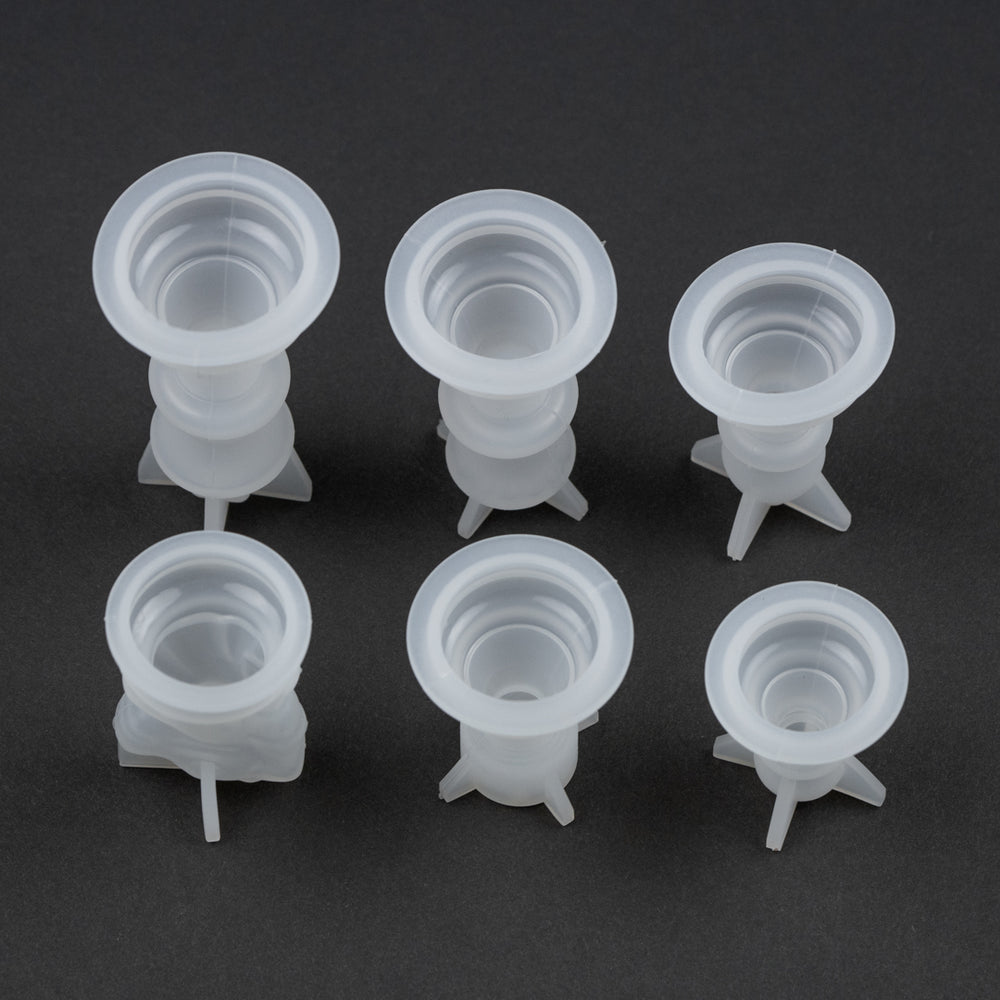 |
| The molds are used upside down, so the base of the piece is the top once poured. |
For the black pieces, the process was mostly the same. When the epoxy was mixed, I separated 1/3 of the mix in a separate cup. Then the main batch of 2/3 would have some black epoxy dye added to it. It was thoroughly mixed in. The same process was followed for the metallic leaf, substituting silver for gold. Once I had poured 2/3 of the black epoxy, then added the clear epoxy slowly, so it wouldn't mix. Silver leaf was added and then left to cure.
Two of the pawns misbehaved, and lost their heads. As a warning to others, their heads were used as handles for the drawers!

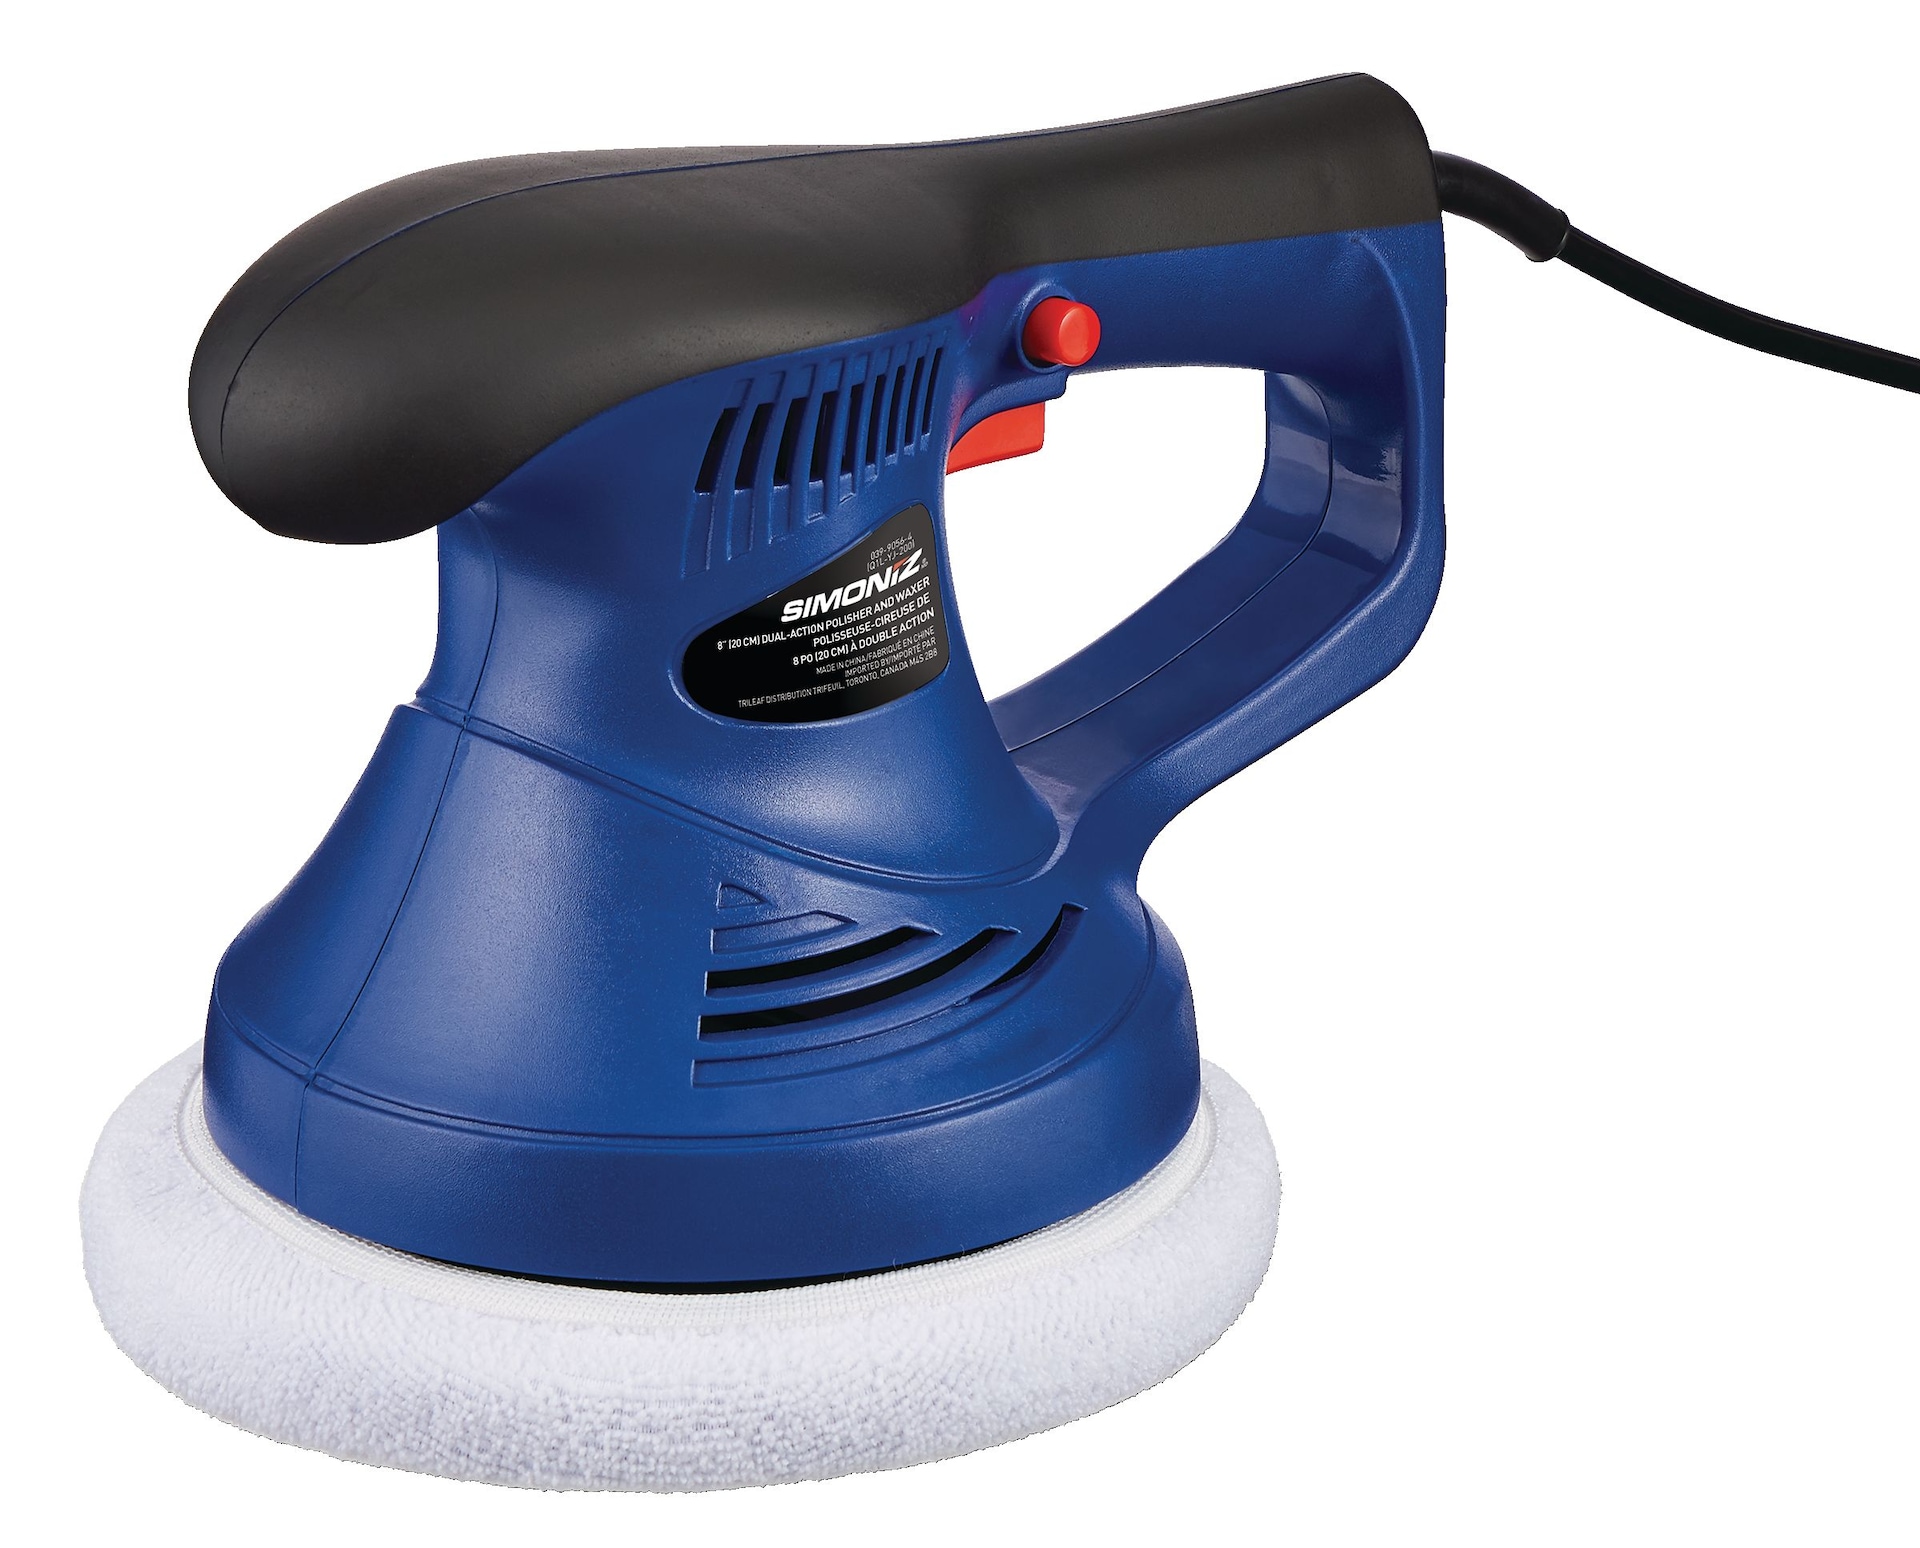
Once all the pieces were done, I followed a 5 step process to smooth the bottoms. The bottom of the piece was not smooth after curing the mold, as a sharp, raised lip was formed on them. It needed to be sanded off and polished. I first sanded the bottom on my belt sander, which only tool about 10 seconds for each piece. I had to do it very carefully so I wouldn't remove too much, which was very easy to do. The process with the rough 120 grit sandpaper left the bottom ugly and scratched. I then used a 220 grit sanding block to smooth out the bulk of the scratches and soften the curves around the base. Then wet sandpaper was used, at 600, 1000, 1500 and then 2000 grit. The result was a perfectly smooth bottom, but it wasn't shiny like the rest of the piece. That's where the polisher came in handy. I used a
Simoniz car polisher to buff the bottom of the pieces to a beautiful shine.
That's the end of the process. It took me over a year to complete, mostly because I was discouraged by the many snags I had in the process - from the lost photos, to frustrations with the fragility of the ash wood, and then with a failed batch of epoxy.
For my next project, I'm going to ensure my photo backup is in place before I start work.


Comments
Post a Comment